How do I install a Subaru Strut Assembly without special tools?
Jul 15, 2025
Leave a message
Installing a Subaru strut assembly might seem like a daunting task, especially when you think you need a bunch of special tools. However, as a supplier of high - quality Subaru strut assemblies, I'm here to share with you a step - by - step guide on how to install a Subaru strut assembly without relying on those specialized tools.
Why Install Without Special Tools?
There are several reasons why you might want to install a strut assembly without special tools. First, it saves money. Specialized tools can be expensive, and if you're not a professional mechanic or don't plan on doing a lot of strut installations, it doesn't make sense to invest in them. Second, it gives you the flexibility to perform the installation at your own convenience, whether you're at home in your driveway or on a road trip and need a quick fix.
What You'll Need
Before we get started, let's gather the basic tools you'll need for this installation:
- A jack and jack stands: These are essential for safely lifting your Subaru off the ground.
- A socket set: Make sure you have a variety of socket sizes, as different bolts on the strut assembly may require different sizes.
- A lug wrench: To remove the wheels.
- A pry bar: This will come in handy for separating some of the components.
- A torque wrench: To ensure you tighten the bolts to the correct specifications.
Step 1: Prepare Your Vehicle
Park your Subaru on a flat, level surface. Engage the parking brake and place wheel chocks behind the rear wheels if you're working on the front struts, or in front of the front wheels if you're working on the rear ones. This will prevent the vehicle from rolling while you're working on it.
Use the lug wrench to loosen the lug nuts on the wheel where you'll be installing the strut assembly. Don't remove them completely yet. Then, use the jack to lift the vehicle until the wheel is about 6 - 8 inches off the ground. Place the jack stands under the vehicle's designated jacking points and slowly lower the vehicle onto the jack stands. Now you can remove the lug nuts and take off the wheel.
Step 2: Remove the Old Strut Assembly
Locate the strut assembly. On the front of the vehicle, it's usually located behind the wheel well. On the rear, it's typically at the back of the vehicle near the wheel.
First, you'll need to disconnect the sway bar link. This is usually a small rod that connects the strut to the sway bar. Use a socket wrench to remove the bolts holding the sway bar link to the strut.
Next, remove the bolts that connect the strut to the steering knuckle. These are usually large bolts and may require a bit of force to remove. Once the bolts are removed, you can use a pry bar to gently separate the strut from the steering knuckle.
Then, move to the top of the strut. Inside the engine compartment (for the front struts) or in the trunk area (for the rear struts), there are usually three bolts that hold the strut to the vehicle's body. Use a socket wrench to remove these bolts. Once all the bolts are removed, you can carefully lower the old strut assembly out of the vehicle.
Step 3: Inspect the New Strut Assembly
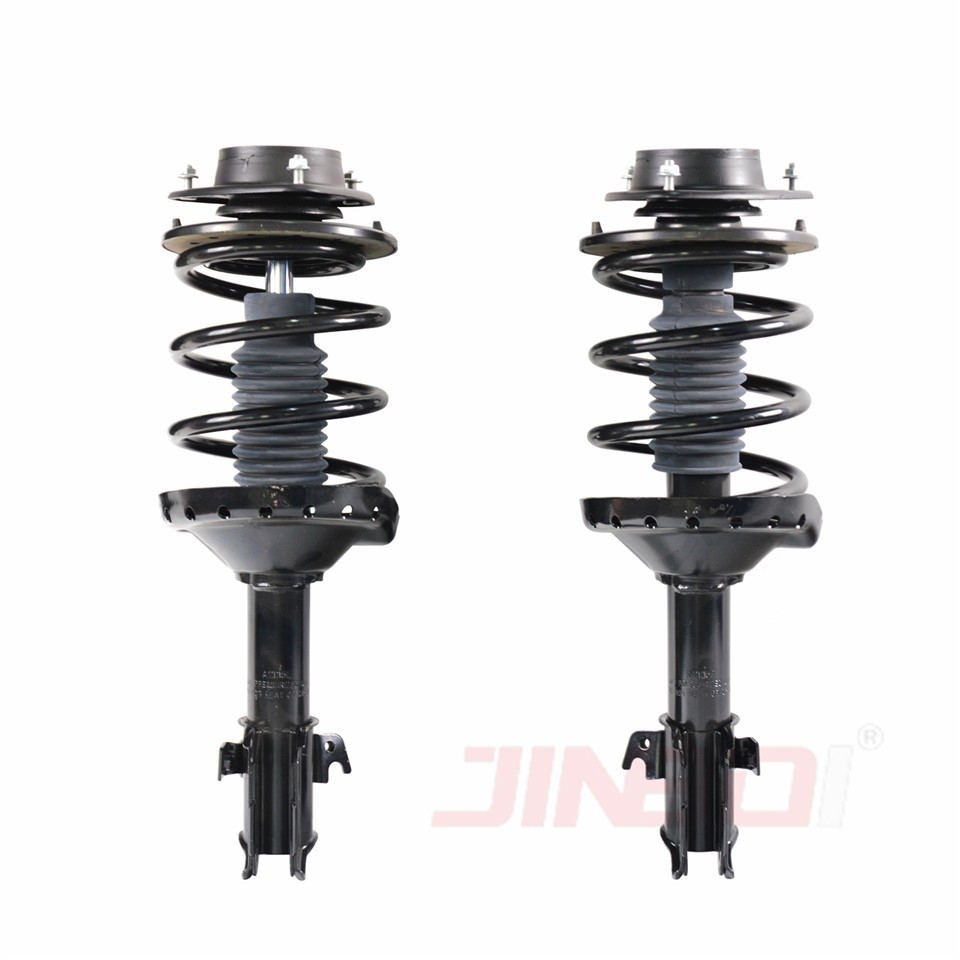
Before installing the new strut assembly, take a moment to inspect it. As a supplier, we ensure that our Subaru Full Set Suspension Strut Assembly meets the highest quality standards. Check for any visible damage, such as dents, scratches, or leaks. Make sure all the components are properly attached and in good condition.
Step 4: Install the New Strut Assembly
Start by positioning the new strut assembly in place. Align the holes in the strut with the holes in the steering knuckle and the vehicle's body.
First, insert the bolts that connect the strut to the steering knuckle. Tighten them by hand initially, and then use a torque wrench to tighten them to the manufacturer's specifications. This is important to ensure the proper functioning of the strut and the safety of your vehicle.
Next, reconnect the sway bar link. Insert the bolts and tighten them using the torque wrench.
Finally, move to the top of the strut. Insert the three bolts that connect the strut to the vehicle's body and tighten them using the torque wrench.
Step 5: Reinstall the Wheel
Once the new strut assembly is installed, it's time to put the wheel back on. Place the wheel on the hub and hand - tighten the lug nuts. Then, use the torque wrench to tighten the lug nuts to the correct torque specification. This will vary depending on your Subaru model, so refer to your vehicle's owner's manual.
Step 6: Lower the Vehicle
Use the jack to lift the vehicle slightly off the jack stands. Remove the jack stands and slowly lower the vehicle back to the ground.
Step 7: Test the Installation
Take your Subaru for a short test drive. Pay attention to how the vehicle handles, especially when going over bumps or making turns. If you notice any unusual noises, vibrations, or handling issues, stop the vehicle immediately and re - check the installation.
Common Challenges and How to Overcome Them
- Stuck Bolts: Sometimes, the bolts on the strut assembly can be stuck due to rust or corrosion. In this case, you can use a penetrating oil like WD - 40 and let it sit for a few minutes. Then, try to remove the bolts again. If they're still stuck, you may need to use a breaker bar for extra leverage.
- Alignment Issues: After installing a new strut assembly, your vehicle's alignment may be slightly off. This can cause uneven tire wear and poor handling. If you notice any signs of alignment issues, it's recommended to take your vehicle to a professional alignment shop.
Conclusion
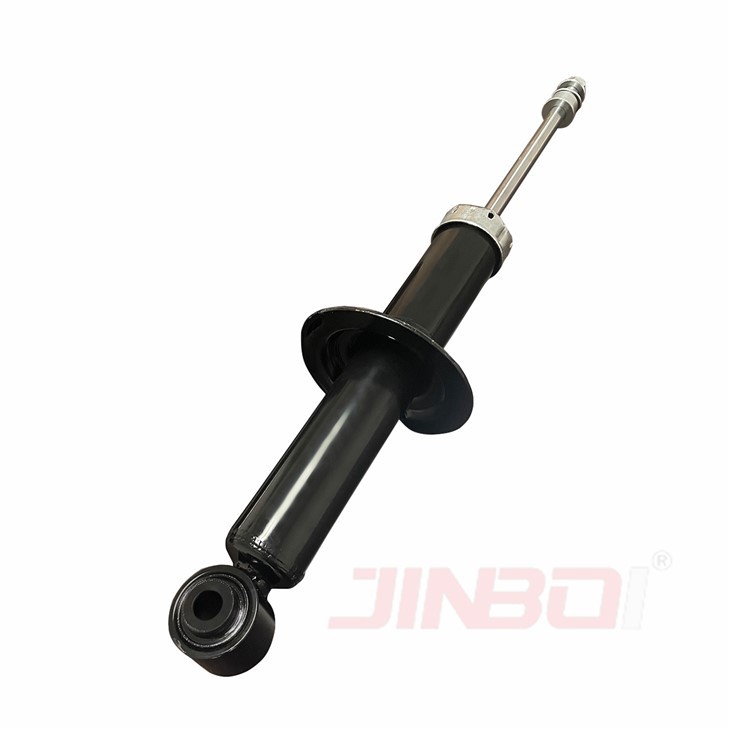
Installing a Subaru strut assembly without special tools is definitely achievable with the right knowledge and tools. As a supplier of Subaru Suspension Rear Shock Absorber and Subaru Suspension Shocks and Struts, we're committed to providing you with high - quality products that are easy to install.
If you're in the market for a Subaru strut assembly or have any questions about the installation process, don't hesitate to reach out to us. We're here to assist you with your purchase and ensure you get the best performance from your Subaru. Contact us today to start the procurement discussion.
References
- Subaru Owner's Manual
- General automotive repair guides